Email Conversion Software for Effortless Migration to Outlook
Easily convert gigabytes of emails. Accurately transfer attachments and formatting. Support for 20+ e-mail clients and message box formats. If you are using one of the major email applications and need to transfer emails to Outlook, nothing comes close to Outlook Transfer products in terms of speed and ease of use. Enjoy the user-friendly interfaces and excellent technical support!
Time has come to migrate to Outlook?
And what about your correspondence for all those years still stored in another e-mail client?
Never lose a single message thanks to GlexSoft email migration software! Fast-paced and extremely reliable conversion makes sure the entire contents of your mailboxes end up in your Microsoft Outlook account.
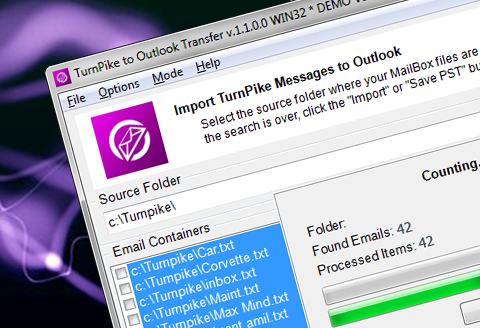
Our software deliver hassle-free migration from all e-mail clients that are popular now or used to be popular in the past including Thunderbird, Gmail, Outlook Express, Exchange, Mac Mail and a number of less known but still widely used software: The Bat!, Turnpike, Zimbra, Postbox. Grab one of Outlook Transfer programs and rest assured your e-mail data are safely and accurately converted to Microsoft Outlook.
Email Migration Software Features
Supported e-mail clients
GlexSoft develops a range of tools that help you transfer data from virtually any major email client to Microsoft Outlook. Important, the tools carefully deal with messages, attachments, styles and other information that is a part of emails. Specifically, the software fully supports the following e-mail apps and formats:
Supported mailbox formats
Email migration software we offer allows you to transfer to Outlook the information from various mailbox formats used by Windows and Mac email clients. In fact, with GlexSoft software you can extract e-mails even from rare unsupported email clients by simply exporting the mailbox to one of supported formats. Specifically, these are:
- EML – a mail message format supported by a large array of email applications including Outlook Express and Live Mail. Apple email client Mac Mail uses similar format called EMLX.
- MBOX (MBX) – historically a Unix mailbox format, MBOX is now a native way to store mail for dozens of mail tools. And others can easily export data to MBX. The MBOX format is interpreted differently by different mail applications, but stay cool: GlexSoft email migration software supports all variations of this format.
- MSF – Mail Summary File of Mozilla Thunderbird and SeaMonkey, Postbox and Netscape Mail. It contains the summary records of all messages stored in a corresponding mailboxes.
- MSG – is a message format mostly used in Microsoft email client and stores individual email message, appointment, contact, task or another Outlook objects. MSG files related to other email clients may contain messages in a form of plain text.
Other capabilities
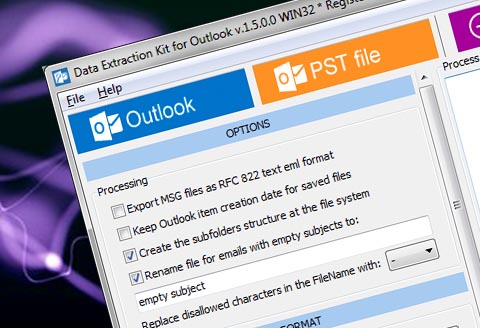
Aside from straight conversion of mailboxes to Outlook PST, software by GlexSoft can extract emails from Outlook for investigation, forensics or backup purposes. See our Data Extraction Kit for Outlook for more info. Also, you can import contacts to Outlook from a vCard file using vCard to Outlook Transfer software.
- VCF – vCard or Virtual Contact File, is a file format standard for electronic business cards. vCard file contains name and address information, telephone numbers, e-mail addresses, URLs, logos, photographs, and other data.
- PST – Personal Storage Table (.pst) is proprietary file format developed by Microsoft company. It is used by Microsoft Outlook and Exchange Client to store messages, contacts, appointments, notes, reminders and other items.
- IML – format of the IncrediMail messages created as an excerpt from the EML format and therefore it may be used only together with IncrediMail database and other contents of the Message Store.
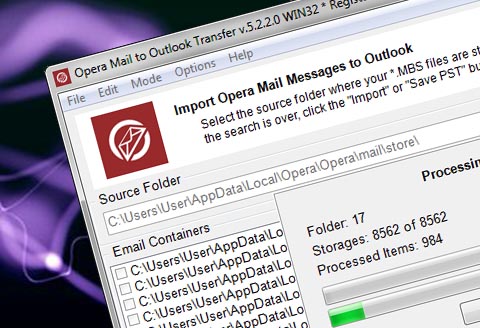
- MBS – proprietary format of the Opera Mail messenger.
- EMLX – file format of the Mac Mail application which contains a single message encoded for Mac OS operating system. EMLX files may contain pointers to the separately stored attachments.
Redefining email migration: meet powerful, reliable and cost-efficient solutions!
The core of products developed by the company is an advanced highly optimized proprietary engine that outperforms most of other email conversion solutions on the market.
Reliable automatic conversion
According to our in-house tests and customer testimonials, our conversion software delivers at least 99.9% conversion accuracy. Moreover, the tools can even extract data from corrupted and erroneous mailboxes that even do not open in the mail app!
Outlook Transfer products offer a comprehensive approach to email transfer. Our software accurately converts the contents of email messages, attachments and makes sure every element remains readable and accessible on the destination system!
Superior performance
Thanks to the multi-core enabled engine, our e-mail migration programs are fast. Really fast. Even with larger mailboxes (1 GB or more) the conversion takes just a few minutes.
All our products use proprietary technologies to quickly analyse and process large arrays of emails and convert them to the destination format.
Forget about days or hours spent on data conversion – think minutes or even seconds!
Support for HUGE mailboxes
While other mailbox conversion apps will fail to help you need to transfer to Outlook more than 4GB of mails in one go, GlexSoft software has no limitations at all! This means you can effortlessly migrate even after years of using your old e-mail client!
All our solutions are based on a convenient user interface that features a bare minimum of control elements and options. The data conversion process is fully automated, which makes our products a great choice for non-professionals.
Join our happy customers
World’s leading companies and universities choose Outlook Transfer


