Software Setup and Uninstallation
Note: these installation/uninstallation instructions apply to major Windows versions and the latest versions of Outlook Transfer products only.
In this guide:
Software Installation
All Outlook Transfer products are distributed in compact installation files (setup files) containing all the necessary libraries and components. You don’t need to download any additional files, unless explicitly instructed to do so in the user’s manual for a particular program.
We check our installation files with the most efficient and popular anti-virus tools to ensure their complete safety for your computer and absence of any kind of spyware, adware or malware. Prior to installation, we recommend closing all running applications that may interfere with the process. If you have been using a previous version of the program, uninstall it before installing the latest one. Finally, if you downloaded your installation file from any site other than the official one, we recommend deleting it and downloading a corresponding installation package from our website.
Here is how you install any Outlook Transfer products:
- Download the installation file from the official website and run it. Our installation packages are compatible with 32-bit and 64-bit versions of Microsoft Windows.
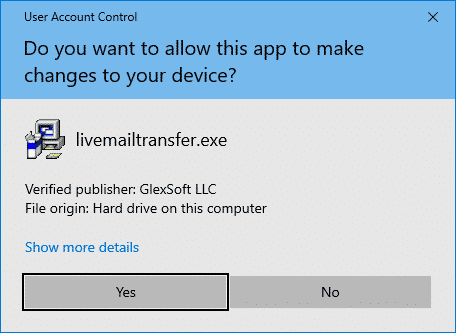
- If you have UAC (User Access Control) enabled, you will see a prompt asking you to allow the program to be installed. Click “Yes” to grant this permission and continue with installation.
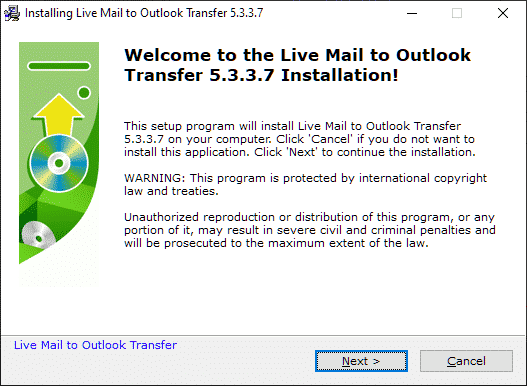
- Click Next to skip the Welcome message.
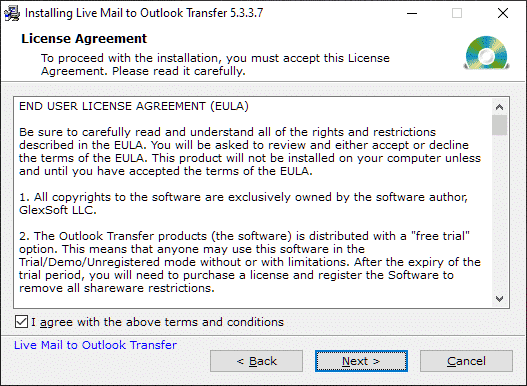
- Read the program’s end user license agreement and check the box under the agreement if you agree with its terms and conditions. Click “Next” to continue.
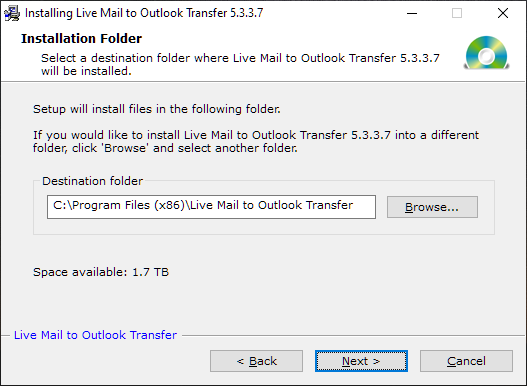
- Leave default value unchanged or select the program installation folder using the standard Windows folder selection dialog. Click “Next” to continue.
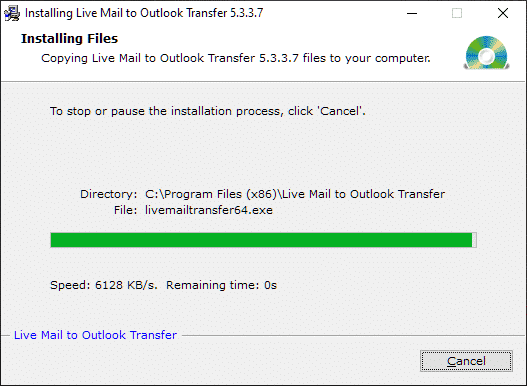
- Wait for the program to continue unpacking files to the selected folder.
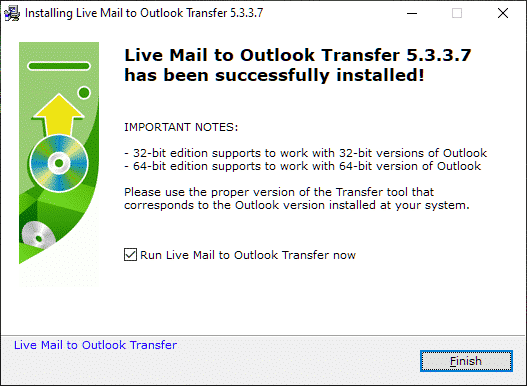
- The software installer will offer you to launch the software immediately after the installation. If you want, you may disable this option otherwise click Finish to close the setup.
Software installer creates two shortcuts to run the converters of different editions. One will work only with 32-bit Outlook and another will work only with 64-bit Outlook. You have to use the proper shortcut to run the program edition which correspond to the Outlook (32-bit or 64-bit) edition installed at your system (please check the system requirements section for more information).
How to activate the software:
- Make sure that Internet connection is enabled. You may need to disable your Firewall / Antivirus temporary or whitelist our software in the Firewall / Antivirus settings.
- Select the activation code and copy it into memory by pressing CTRL+C at your keyboard.
- Run the software and go to menu Help > Activate the License to open the registration form.
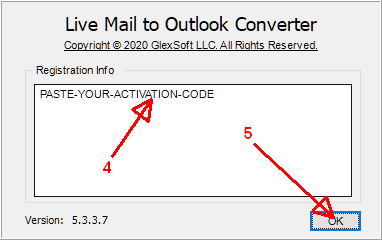
- Paste your activation code into the “Registration Info” field by pressing CTRL+V keys combination.
- Click OK to confirm the activation.
If you getting the error message, please read it carefully and contact our support with detailed description of the activation problem. Include Activation LOG file to your request.
Common Activation Errors
The following are some of the most common activation errors with possible solutions. If you’re getting an error, check the list of error codes below and follow the suggested steps to resolve it or contact us for assistance.
| Error | Why it happens and how to fix it |
|---|---|
| Trial not completed. | Our software is distributed on a try-before-you-buy basis. To see if it works properly and meets your needs, we encourage you to download and test it. You should save the result and check if it suits you in order to get rid of this message and activate the software. Please be aware that there will be no refund for your order after activation. That’s why the program comes with such functionality which prevents you from activating without trying. |
| Activation Code is not corresponding to the product. | You are trying to activate the wrong product or entered a wrong code. Activation code is associated with specific product and cannot be used to activate any other. Check that the program name matches your activation code – first symbols of the activation code should correspond to the first symbols of the program name. Otherwise activation code will not be recognized. |
| Activation limit has been reached. | You are trying to activate the software on more devices than the License Terms allow or you have reached the limit of purchased activations. Open your Purchase Confirmation email, scroll down to the section “Need more activations?” and use the provided instruction to extend a limit of activations. |
| Specified Activation Code cannot be used. | You have requested a refund or initiated the order dispute, in result your activation code was blocked by the system. If you think that it is some sort of mistake please contact us for assistance. |
| Please activate the software on a regular PC. | You are trying to activate the software on Server OS which is not allowed by the License type purchased by you. Install the software on regular PC and activate it or contact us to upgrade your license. |
Software Uninstallation
Uninstallation is just as easy as installation. The uninstallation utility is supplied in the standard program package, so you don’t need to download anything to remove a Outlook Transfer product from your computer. Below is the standard program uninstallation procedure:
- Prior to uninstallation, make sure that the program you are removing is currently not running. It is also recommended that you remove the destination program to avoid potential problems.
- Locate the uninstall.exe file in the program installation folder or use the standard Add/Remove Programs of the Windows Control Panel. In the latter case, select the necessary program from the list and click the “Remove” command above it.
- After uninstallation, make sure that the program has actually been removed – check the installation folder and icons in the start menu and the desktop.
- During uninstallation, the program may ask you for the reason you are doing that. This is completely optional and filling out this feedback form is totally at your discretion.
This concludes the description of Outlook Transfer product installation and uninstallation procedures. For any additional information, please contact our support team.
